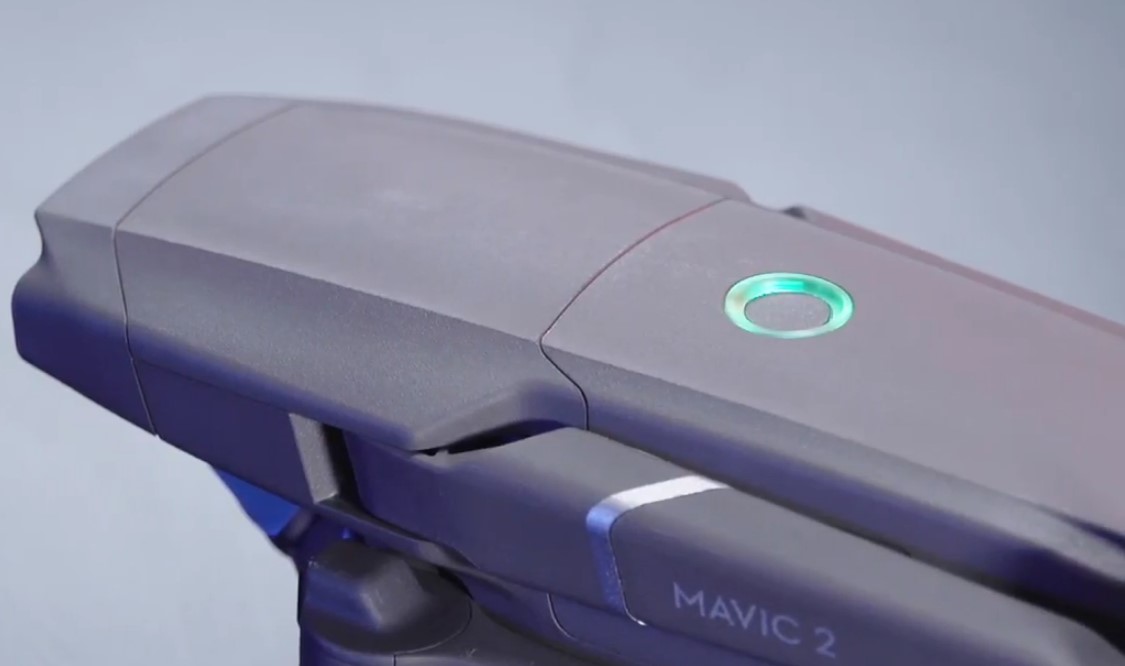
Before piloting your drone outside for the first time, you must calibrate the drone’s compass. Calibration is also needed if your drone has been flying inconsistently or not flying like it usually does. Many experts believe that a drone needs calibrating each time that it operates, especially if it will be flying in a new location.
However, some specialists believe that calibrating your drone to often may cause damage. How to calibrate a drone is indeed crucial information for accurate and normal flying.
When to Calibrate Your Drone
Knowing when to calibrate your drone will make a massive difference in performance. Here are a few tips that can help you determine if your drone needs calibrating.
- It is the drone’s first flight.
- It has been more than a month since you have flown your drone.
- The compass displays interference warnings after changing the location
- Your flying location is more than six miles from the last flight location
- There are irregularities, the drone is not flying straight, or after any crash
Things That You Will Need to Calibrate Your Drone
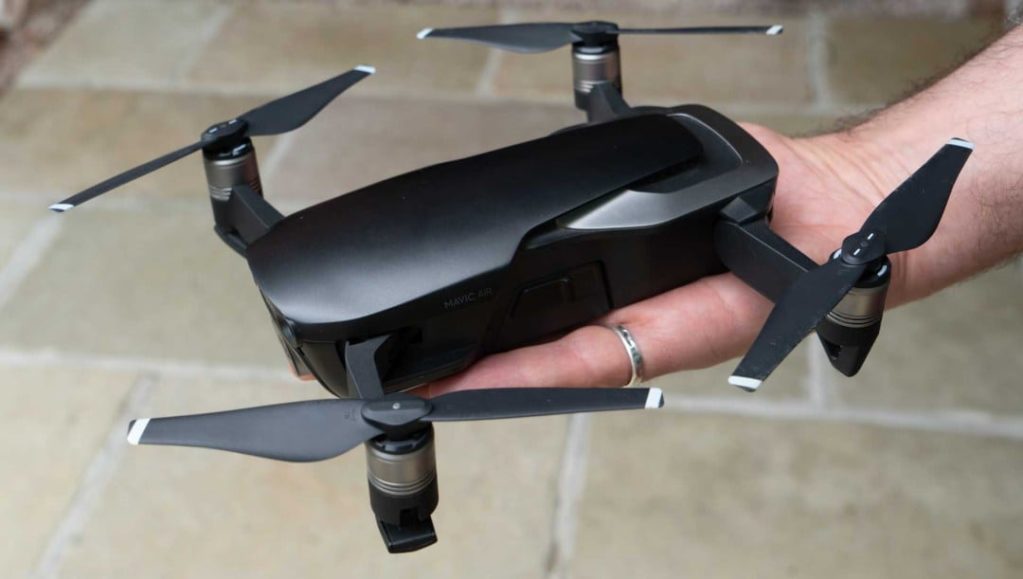
Calibrating your drone is quite simple. However, there are certain things you will need for a successful calibration.
- A wide-open area for a good line of sight
- A fully charged battery
- Batteries for your remote control
- A cold climate is preferred to prevent overheating.
- A device such as your tablet or phone for programming
- The drone should never be hot when calibrating. The aircraft needs to be shut off for at least ten minutes after it has been running.
- Make sure you have a level surface.
- Prep the drone by removing the propellers, removing the gimble guard, and turning on nomadic two and the remote, depending on the brand.
Simple Step by Step Instructions on How to Calibrate a Drone
There are two types of calibration, IMU calibration, and Compass Calibration.
IMU Calibration
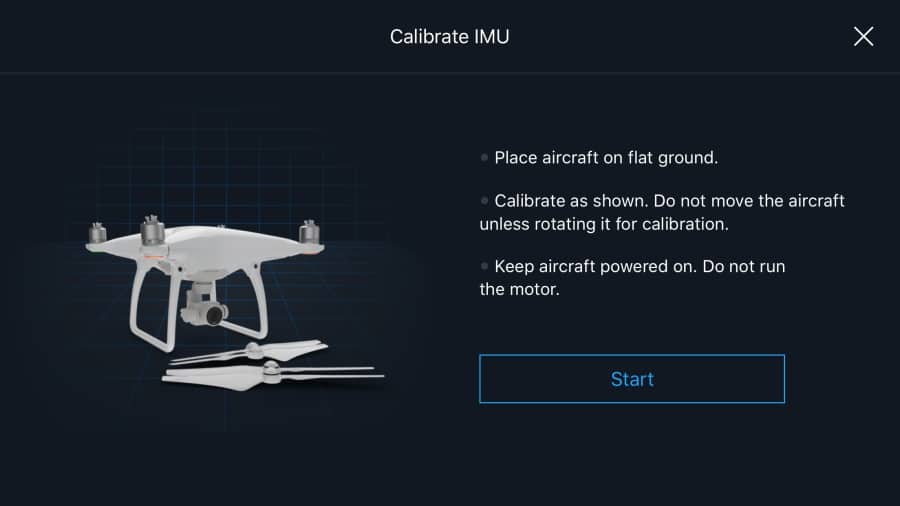
An IMU is a circuit that keeps the drone level and flat. IMU control the pitch and roll. Calibrating the IMU is can be done indoors on a flat surface like a table. Here are the steps to calibrate your drone
- Before you click the Start button, the drone should be as flat as possible, powered up, that you remove the gimble guard, and the legs stretched out. Also, the position for the drone should be facing to the left.
- Open up the iFly application.
- Find the safety file.
- Next, tap or click on the IMU calibrate button, typically located on the lower left of the screen.
- Next, you need to place the drone on its side and have it facing to the right. The top of the drone should be facing you. Hold the drone for a few seconds while it calibrates.
- Next, place the drone on its side. The top of the drone essentially needs to be facing you and facing to the left. Again, wait for a few seconds while it calibrates.
- In the next position, the drone should be facing straight up. Keep the drone as still as possible. Wait for a few seconds for it to finish calibrating.
- Lastly, the drone needs to face the right and positioned upside down. Wait for it to finish calibrating. After finishing calibration, it will state calibration complete.
Compass Calibration
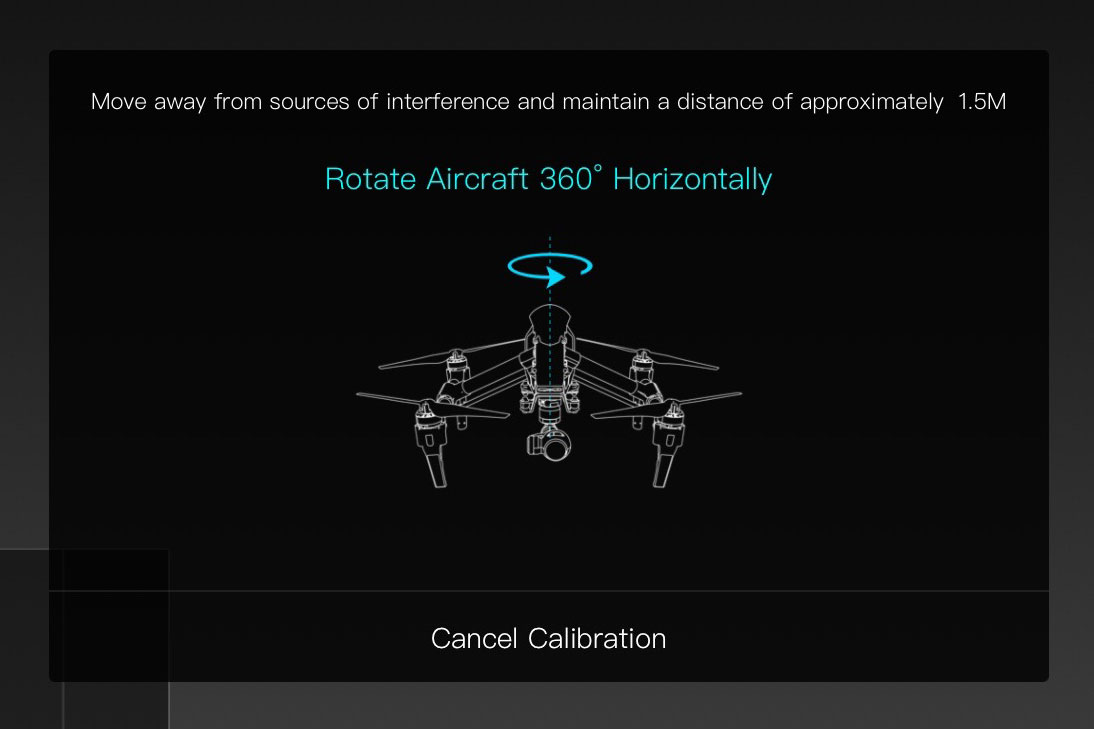
Compass calibration is needed to find true north. It is necessary to calibrate if the drone will be flying in a new location (more than 6 miles away) or if there are error messages.
Make sure you are away from any metal structures or concrete parking lot, which can interfere with calibration. Also, stay clear of cellphone towers.
Basics for Most Drones
Compass calibration for drones is pretty much the same for most devices. Here are the basics for calibrating –
- Turn on the drone’s transmitter.
- Make sure that the drone is powered up and fully charged.
- Use your controller for a compass calibration. The lights on the drone and your remote should be a solid color. Most lights are yellow, depending on the drone brand.
- While holding the drone level with the ground, spin it horizontally until a light turns green.
- Next, rotate the drone vertically (to the ground). Slowly spin until the second light turns green.
- If you have made an error during calibration, there will be a red flashing light. If this happens, start the calibration over.
Drone Calibration Applications
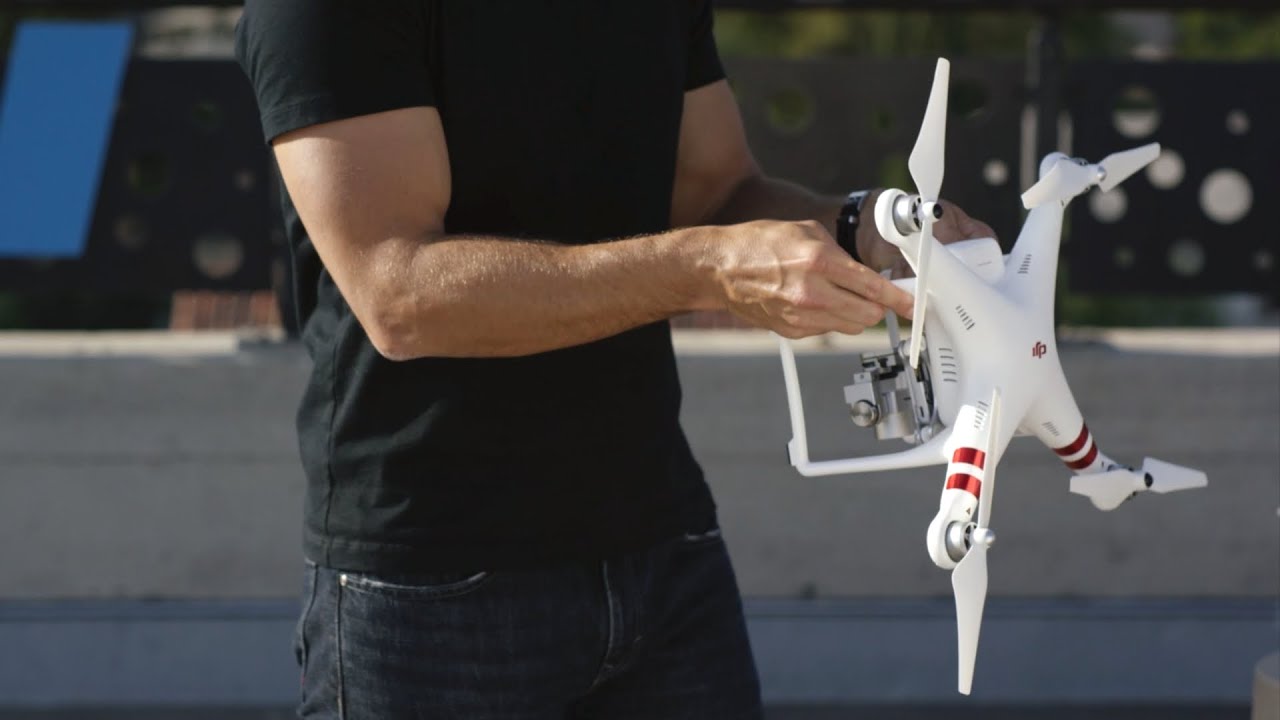
Some drones have an application for a compass calibration. Instructions for Drone Applications are as follows-
- Select iFly application
- Select the Safety button
- Select Compass Calibrate button
- Select the Start button
- Next, instructions will have you rotate the drone 360° horizontally. It means rotating your drone counterclockwise two or three times. Stay in the same stance, do not move or pivot around, move the drone 360°. Stop when the application says it has calibrated.
- Now rotate the drone 360° vertically. The drone should face to the right. Rotate the drone downward toward the ground, without moving your body around. Rotate the drone two or three times until calibrated.
Overall Solutions
Calibrating your drone will make a huge difference in performance. It will also prevent crashes and accidents. In truth, drones are an investment that needs to be protected and safeguarded by proper care.
Please, comment on your suggestions or insights about the post. Your input and feedback are well appreciated. Also, don’t hesitate to share this article if you found it helpful.

